1976 Honda CB200
- Jan 10, 2025
- 3 min read
Updated: Mar 25, 2025
Even in the middle of a busy semester it can be hard to pass up a good deal on a crusty old Honda. I picked up this bike in October for a fun little winter project, and while I'm usually not great at documenting these kinds of things, I did end up with some interesting pictures and takeaways from this work-in-progress.

There was a laundry list of repairs I knew it would need right away. First and foremost, it dumped gasoline out of the carburetor overflows whenever it had fuel in it. Before buying it I knew this probably meant stuck or punctured floats, and since a full carb rebuild was in order anyway, that seemed like an easy enough fix.
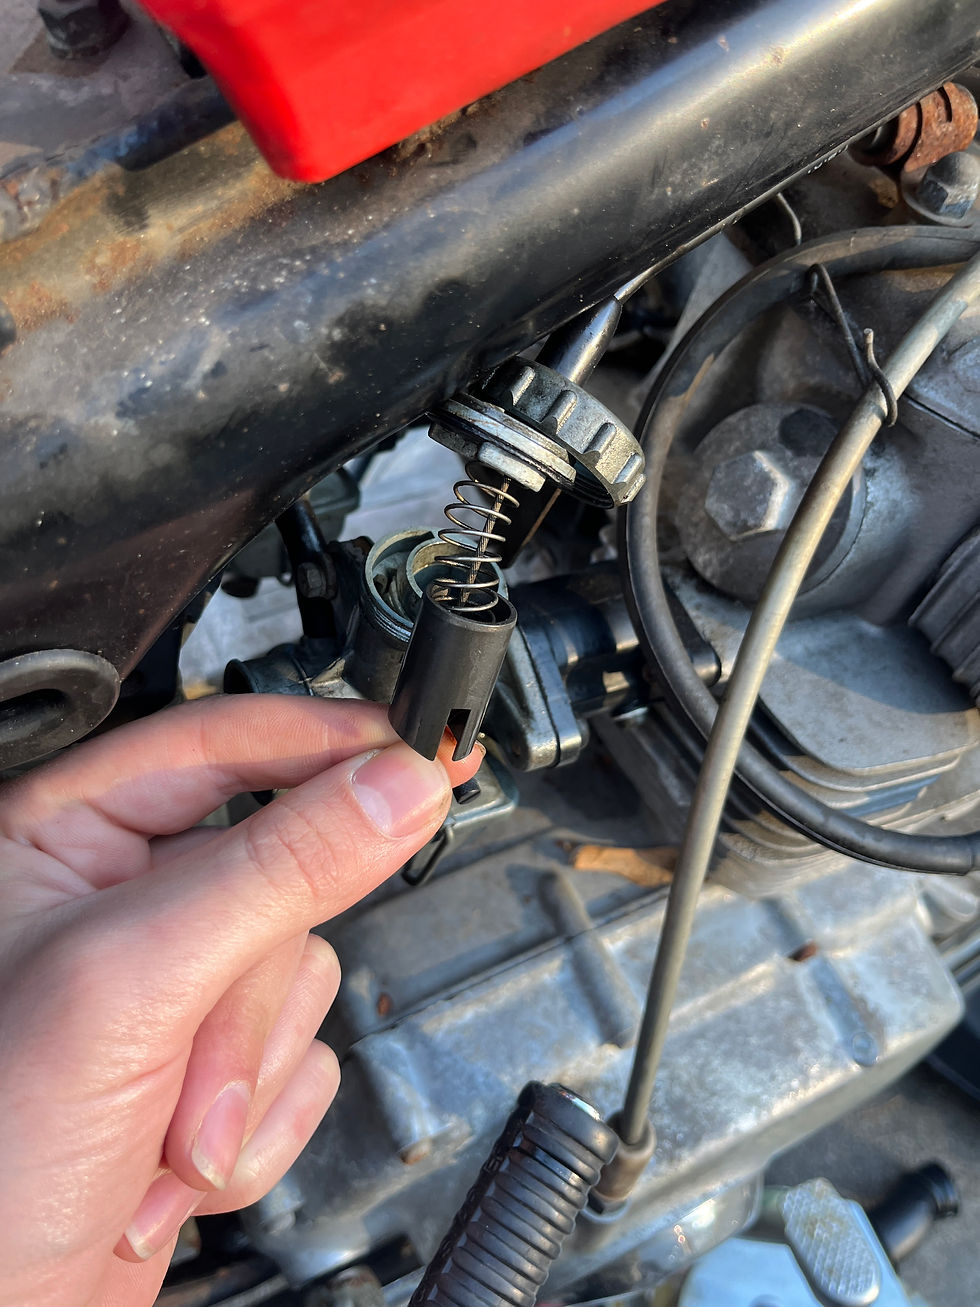
As it turned out, both floats were in fact full of holes, so I tracked down some spares online. With the carbs off, it was a good time to address the sticky throttle cable too. These bikes rely on this tiny piston return spring for smooth throttle operation, which makes them extremely sensitive to a well maintained cable.
With clean carbs and a snappy new throttle cable, the next point to address was the front braking power, or lack thereof in this case. Honda opted for a very strange "worst of both worlds" cable actuated disk on the front of these bikes. A proper hydraulic caliper was reserved for the larger more premium models at the time, and twin drums were already viewed as outdated.
At the heart of this cable actuated caliper is a spring loaded cam mechanism, that uses ball bearings to force the pads out of the housing. The hook shape on the right is what the cable pulls on, and the vertical pin keeps that section stationary against the the body of the caliper. The relative torsion between those sections is where the braking force comes from.
The common problem with these mechanisms the that both the ball bearings and thrust bearings become pitted out over time, and prevent proper operation. Some research pointed me in the direction of the appropriately sized bearings, and I went ahead with a thorough cleaning, rebuilding, and regreasing of these components.

After reinstalling it I was able to improve the front brake performance from non-existent to 'kind of acceptable'. I'm hoping with some additional cable tuning I'll be able to make more progress, and if not, this page may have to get updated with a "custom hydraulic conversion" section.
The next order of business was the dead starter, or or starter switch, or starter solenoid, or starter clutch, or starter wiring.. I wasn't sure. After tracing the system with a multimeter it ended up being a bit of a combination.
Under the disintegrated starter button, the wires had been broken, and were stuck somewhere inside the handlebars. I fished them out, contacted them, and got a nice solenoid click! but no crank.
After a bit more troubleshooting I decided to pull the starter out and sure enough it was drowned in oil and grime from a faulty gasket.

While it's not easy to tell, those are the stator leads and brushes buried under there, which required some careful abrasion to get functioning again. When rebuilding a carburetor, surgical cleanliness goes a long way. For this part, not so much.

One more part of the starter assembly that needed attention was this simple planetary reduction, which slots right into the engine housing with an O-ring. The teeth got cleaned out, then packed with plenty of fresh grease for them and their bearings.

Unfortunately, removing that planetary assembly meant that the sprocket on the other side of it has to pop off its splines and fall into the case. Repairing the starter ended up being the easy part comparted to scraping off all the old paper gasket from the aluminum case, but it eventually went back together with a fresh gasket and no leaks.

The final piece of the puzzle was extending the correct 3 wires so they could reach out of the handle where the remains of the old electromechanical switch had been. I'm searching for the perfect SPDT button as a replacement, since it uses those 3 pins to alternate ground between either headlights, or the starter solenoid, but never both to prevent overloading the battery. Until the switch gets here, I can just use this less sophisticated, but arguably more fun method:
There have been plenty of other odds and ends involved in this project, including getting the rust out of the tank, rebuilding the fuel valve, replacing fuel lines, fixing wiring, and pulling the wheels off to get new tires put on. It's still far from 'restored', but so far it has been wrenching well spent.


Comments